When it comes to dealing with electrical work in your home, safety should always be your top priority. Whether you’re replacing an existing electrical outlet or adding a new one, it’s crucial to understand the risks involved and the importance of proper installation. While DIY projects can be tempting, electrical work is often best left to professional electricians. At Prairie Electric, we recommend hiring a licensed electrician to ensure your electrical systems are safe and up to code. If you live in or near Vancouver, Washington – give us a call.
It’s also important to note that if you rent or have an HOA or similar, you need to confirm that you’re permitted to perform this type of electrical work.
With those disclaimers in place, here is our guide to replacing and adding electrical outlets with safety in mind. Generally, replacing an outlet is much more straightforward than adding an outlet. So we’ll start with how to replace an outlet for you DIYers out there.
Replacing an Electrical Outlet
Replacing an electrical outlet is a relatively straightforward task but still requires caution and attention to detail. Here’s a step-by-step guide to help you understand the process:
Step 1: Turn Off the Power
Before you begin, make sure to turn off the power to the outlet you’re replacing. Locate your home’s electrical panel and switch off the circuit breaker corresponding to the outlet. Use a voltage tester to confirm that the power is off.
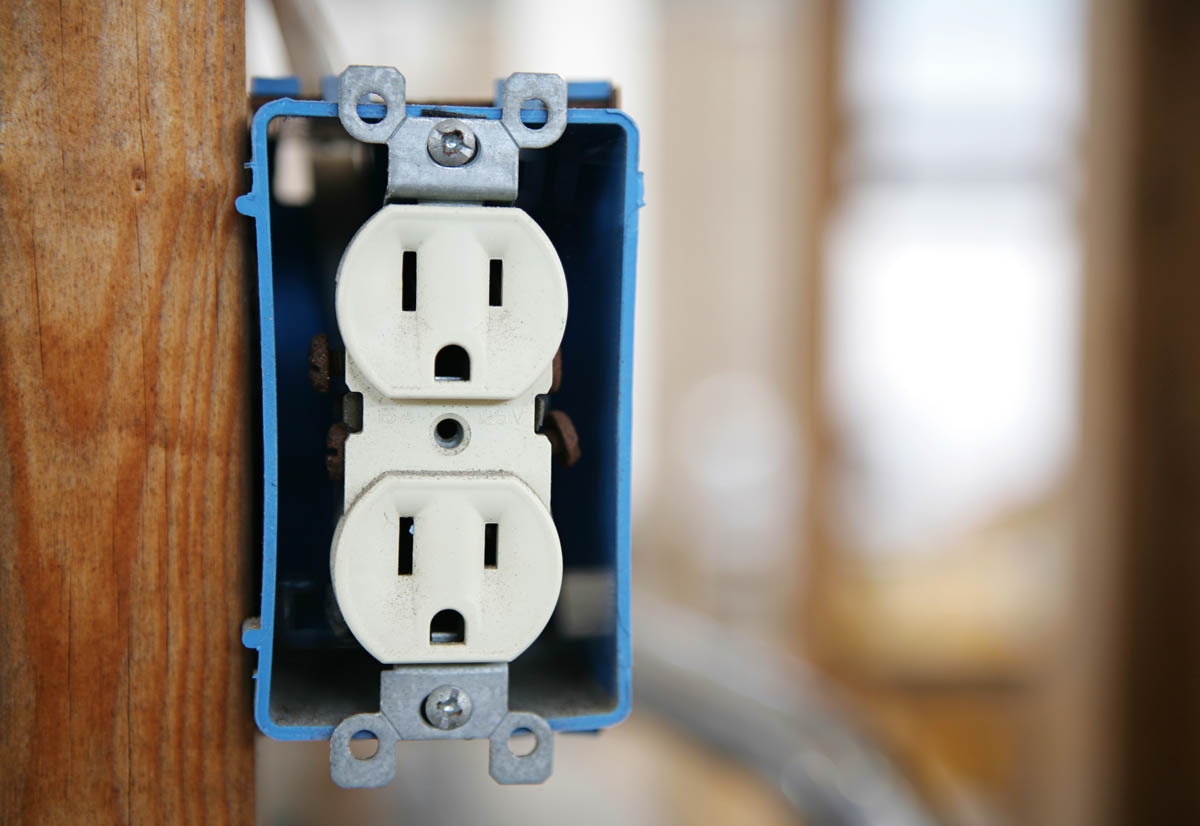
Step 2: Remove the Old Outlet
- Unscrew the Outlet Cover: Use a screwdriver to remove the screws holding the outlet cover in place.
- Unscrew the Outlet: Next, unscrew the screws securing the outlet to the electrical box.
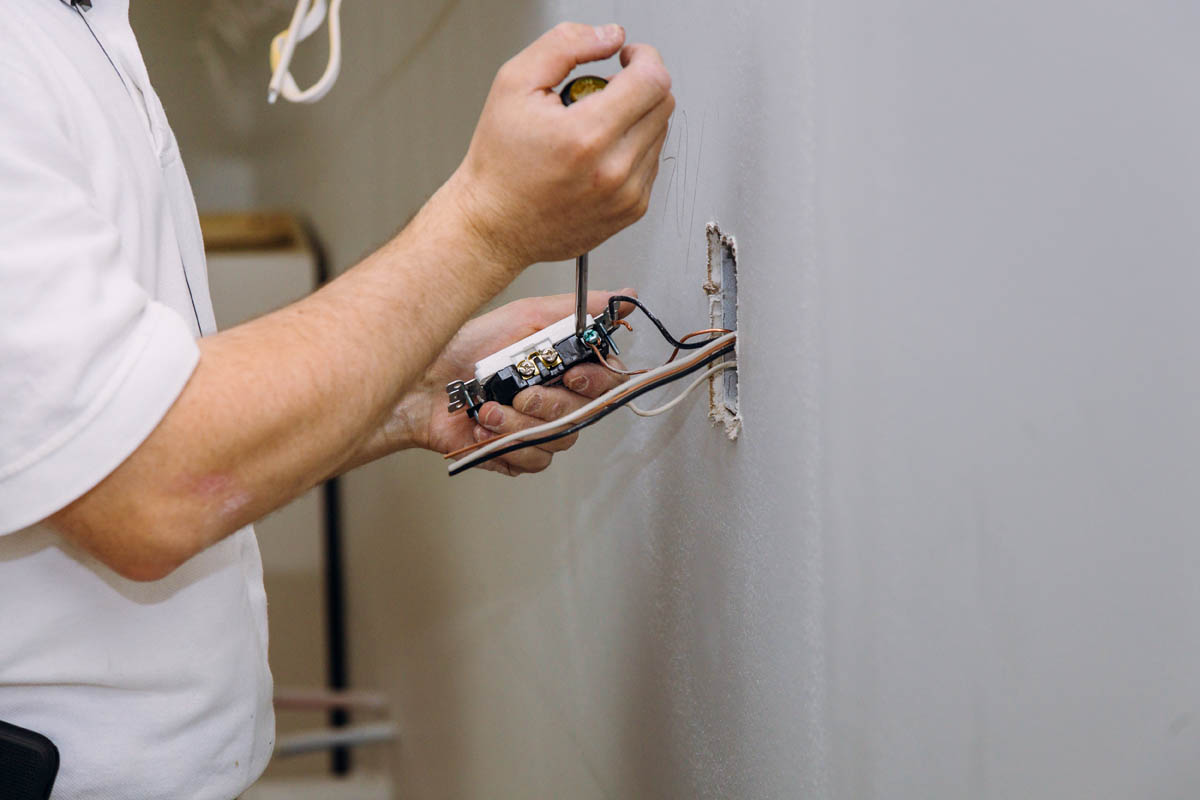
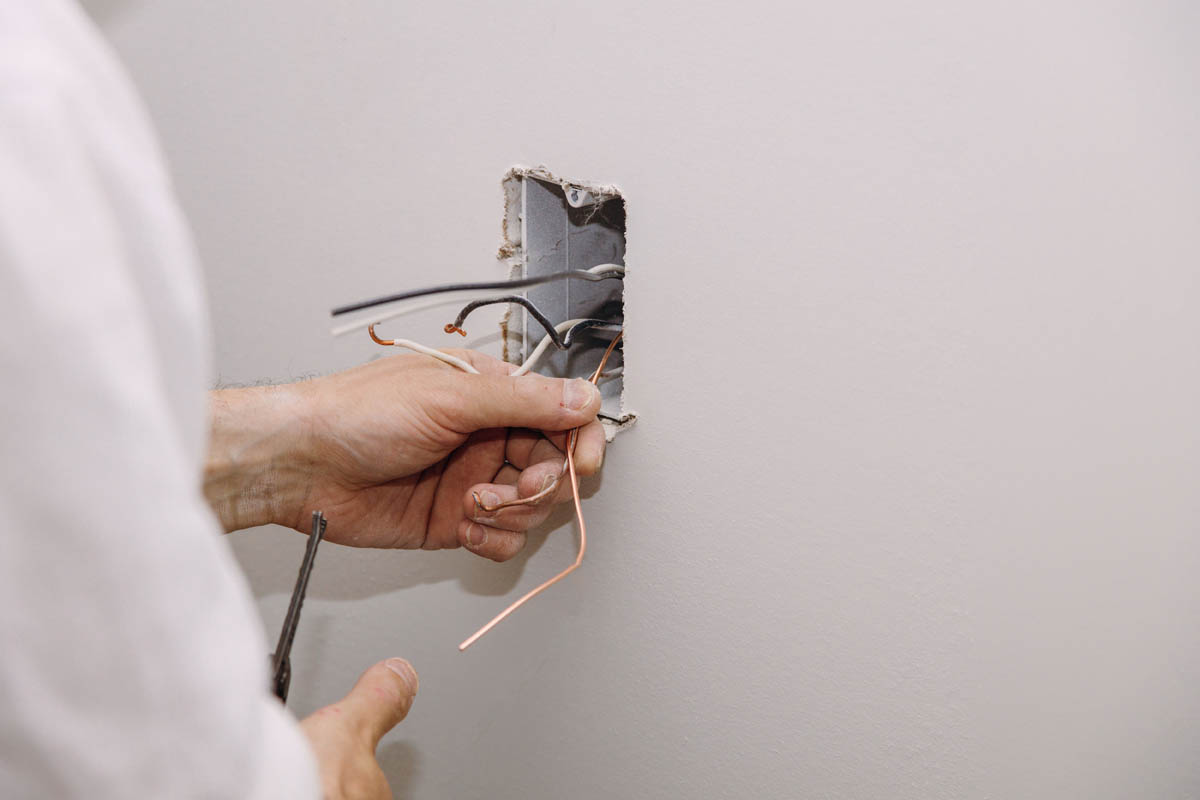
- Disconnect the Wires: Carefully pull the outlet out of the box. Disconnect the wires by loosening the terminal screws or by detaching them from the push-in connectors.
Step 3: Install the New Outlet
- Connect the Wires: Attach the wires to the new outlet. Ensure the wires are connected to the correct terminals: black (hot) wire to the brass terminal, white (neutral) wire to the silver terminal, and green or bare (ground) wire to the green terminal. The new outlet you purchased should also have instructions and a diagram, so reference those as well.
- Secure the Outlet: Carefully push the wires back into the electrical box and secure the outlet with the screws.
- Attach the Cover Plate: Screw the outlet cover back in place.
Step 4: Restore the Power
Turn the power back on at the circuit breaker and test the new outlet to ensure it’s working correctly.
Adding an Electrical Outlet
Adding an electrical outlet involves more complexity than simply replacing one. This task often requires new wiring and can affect your home’s electrical load. Here’s what you need to know if you decide to tackle this project yourself, although we strongly recommend hiring an electrician for safety and compliance.
Safety Measures to Consider
- Turn Off the Power: As with any electrical work, ensure the power is turned off before you start. Use a no-contact voltage tester to make sure that it’s off.
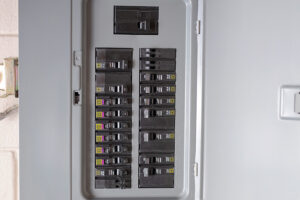
- Understand Circuit Load: Determine the size of your circuit and what the new outlet will be used for to avoid overloading the circuit. Get to know your electrical panel.
- Plan Your Work: Scope out where the new outlet will be located, how it will be wired, and what materials you’ll need. Be as prepared as possible!
Tools/Materials
Drill, stud finder, level, wire stripper, jigsaw or drywall saw, screwdriver, pencil, no-contact voltage tester, drywall knife, pliers (lineman and needlenose), electrical tape, outlet electrical box, your new outlet, faceplate.
Cost
Should be less than $100 but depends on your specific material needs.
Time
Somewhere between 30 minutes and a couple of hours, depending on proficiency and comfort level.
Steps to Add an Electrical Outlet
- Locate the Circuit: Identify the circuit where your new outlet will be added. Ensure it can handle the additional load (yes, we’re mentioning this twice. You need to double check!).
- Choose the Outlet Type: Decide if you need a standard outlet, a GFCI outlet (for areas that could potentially come into contact with water/moisture), or a specialized outlet for appliances.
- Finalize placement: Use a stud finder to locate the studs in your wall. You want the outlet box to be between or directly next to a stud. Using the outlet box as a template, trace around it onto the wall with a pencil or marker. Use a level to make sure that it’s level.
- Cut the Opening: Using a drywall saw or a drill with a suitable bit, create an opening for the new outlet box between the studs. For extra stability, you can install the box directly next to a stud and secure it to the stud itself in addition to the drywall.
- Run the Wiring: Carefully run the new wiring from the existing circuit to the new outlet location. This may involve fishing the wires through walls, which can be tricky and dangerous.
- Install the Outlet Box: Secure the outlet electrical box in the wall opening.
- Connect the Wires: Follow the same steps as replacing an outlet to connect the wires to the new outlet.
- Mount the Outlet: Secure the outlet in the box and attach the cover plate.
- Test the Outlet: Restore power and test the new outlet to ensure it’s functioning correctly.
Scenarios for Adding an Outlet
There are various scenarios where you might need to add an outlet:
- On the other side of a wall: From an existing outlet to accommodate more devices.
- Exterior outlet: For outdoor equipment or holiday lights.
- GFCI outlet: Near sinks, in bathrooms, kitchen, laundry room, etc. Necessary for optimal safety and to meet code requirements.
- For mounting a TV: For convenience, and to avoid visible cords.
- To a light switch: Adding an outlet below an existing switch.
- In bedrooms: Many older homes only have one or two outlets in the bedrooms, and it’s common to add more for convenience.
Importance of Hiring an Electrician for Adding Wall Outlets
While DIY projects can be satisfying, adding electrical outlets is a task that carries significant risks if not done correctly. Here’s why hiring a licensed electrician is the best choice:
Safety
Professional electricians are trained to handle electrical systems safely. They understand the complexities of wiring, circuit loads, and local codes, ensuring your installation is safe and compliant.
Expertise
Electricians have the expertise to troubleshoot potential issues that may arise during installation. They can ensure your electrical system is not overloaded and that all connections are secure. And it eliminates the inevitable frustration that you would likely face while DIYing!
Compliance
Electrical work must meet specific codes and standards. Licensed electricians are familiar with these regulations and will ensure your installation complies, preventing potential issues with home inspections or future electrical problems.
Peace of Mind
Hiring a professional provides peace of mind, knowing that your electrical system is safe and reliable. If any issues arise, a licensed electrician can quickly address them, saving you time and potential hazards.
So, while replacing an electrical outlet can be a manageable DIY task, adding an outlet involves more complexity and risk. At Prairie Electric, we recommend hiring a licensed electrician to ensure safety and compliance with local codes. Our team of experienced professionals is ready to help with all your electrical needs, ensuring your home remains safe and efficient. Contact us today to schedule your electrical inspection or installation.
Interested in another outlet-related DIY? What to do if you feel cold air coming through your outlet.